Photo Stitching Not Just For Landscapes
Setting the scene…
You’re at 70 degrees north latitude in Alaska on the back deck of a boat and it’s spitting snow/rain. You’ve been anchored for a couple hours, waiting for a family of polar bears converge on a pile of bowhead whale bones. Just when the chill is about all you can take, a mother bear with triplet cubs swims your way and starts to treat the bone pile like their personal jungle gym. Our guide has the boat perfectly positioned, but I have way to much lens!
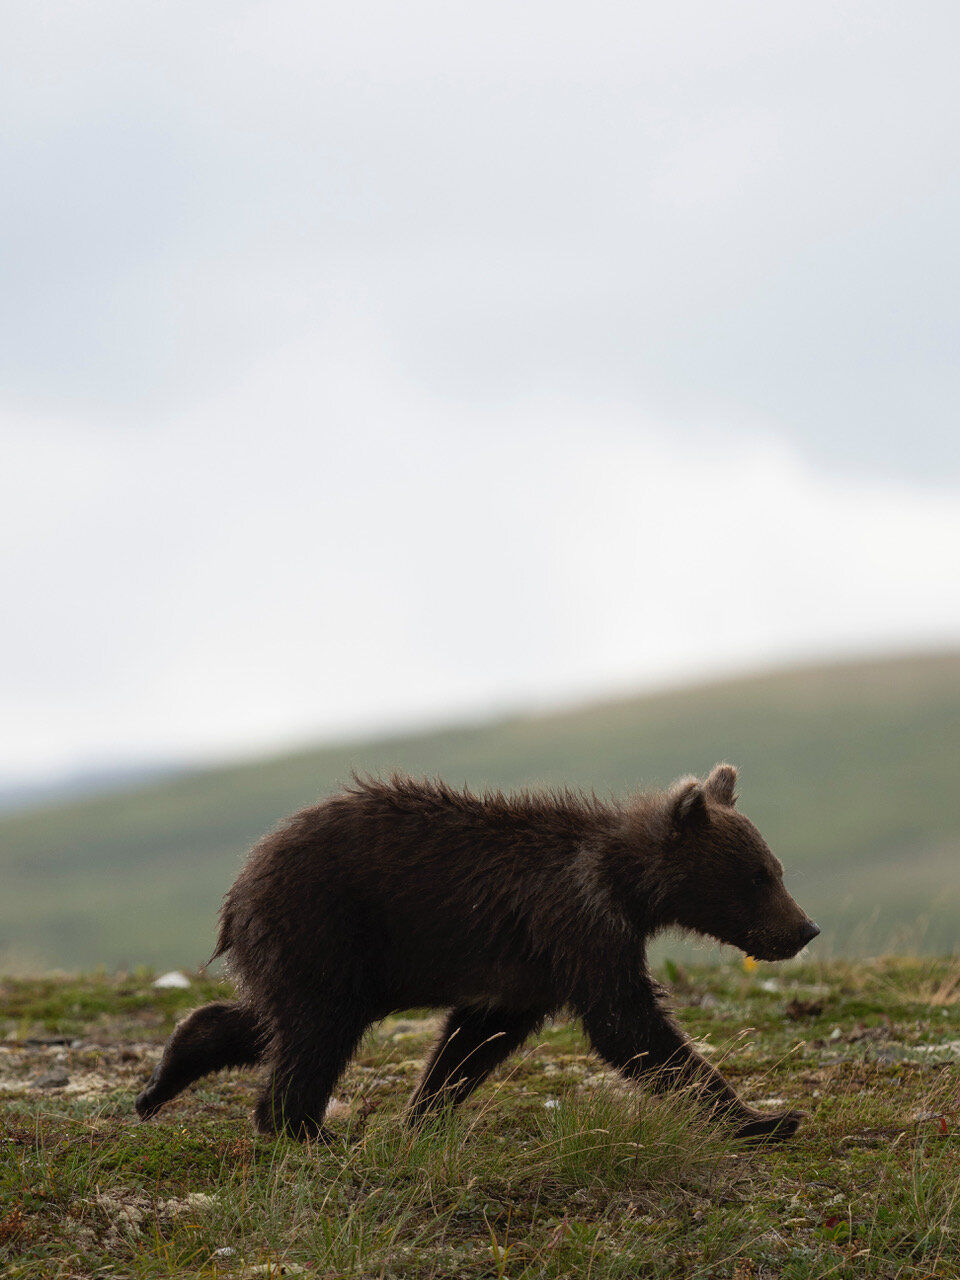
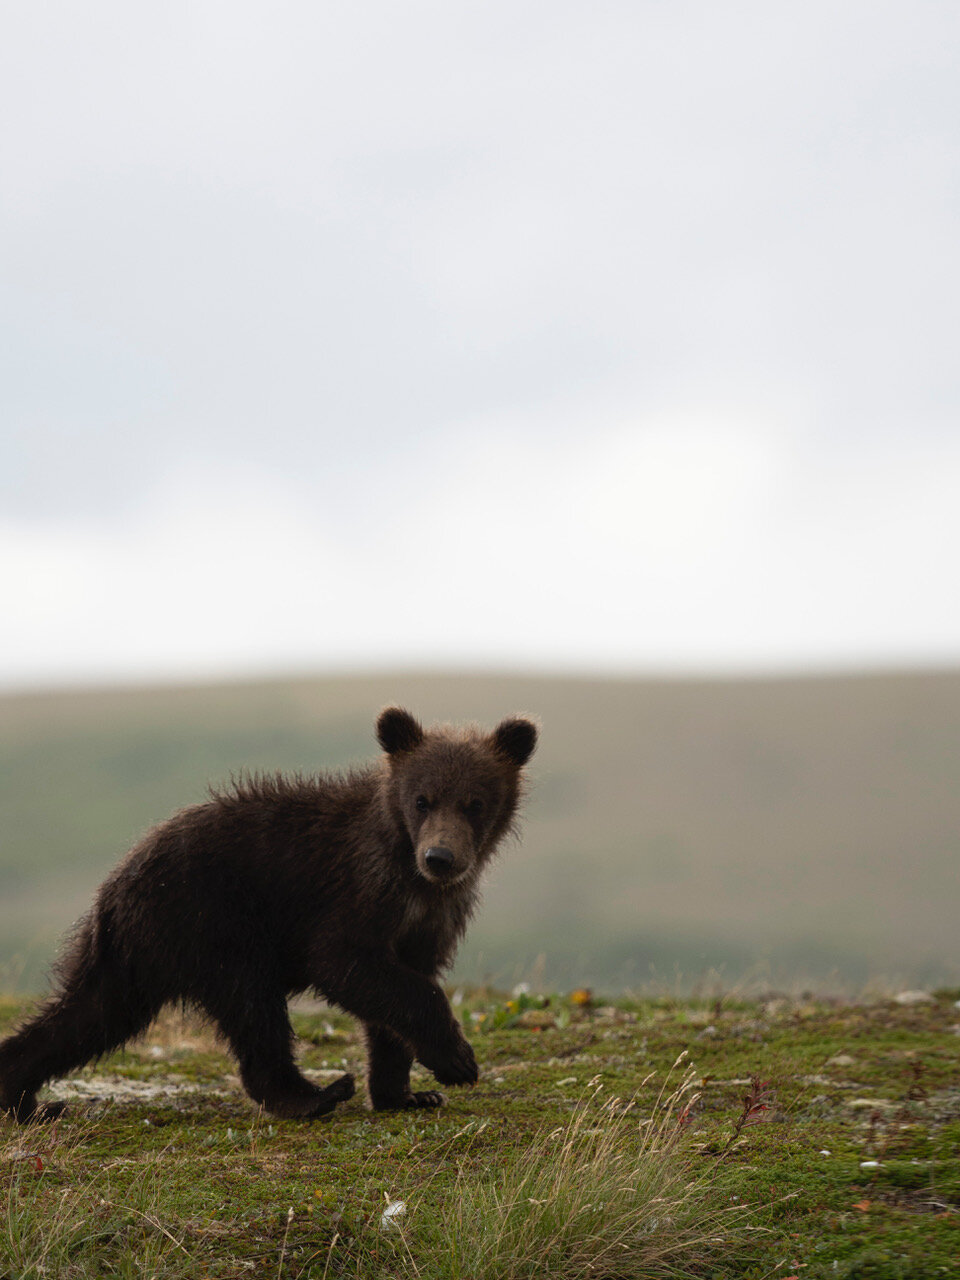
Pro Tip - Photo stitching is not just for landscapes. Mind blowing frame rates and powerful computing that fits in the palm of your hand allow easy work arounds for those of us who frequently get caught with an oversized prime lens. We probably won’t be able to stitch a cheetah at full speed, but today’s tech is definitely good enough to stitch a brown bear family strolling across the tundra.
And these multi image composites don’t have to be extreme. Maybe you just need a little more environment in your close up shot so viewers can clearly see that you’re not at the zoo, or you need a little more blurry bokeh to help isolate your subject. The images could be two shots or they could be 15, depending on what you’re trying to accomplish.
The technical side of things shouldn’t be intimidating. It is about getting as many shots with a uniform focal plane and exposure as you can, as fast as you can. I shoot with an Olympus EM1 mk 2 and I don’t even know how fast it can go but on the fastest frame rate it feels like driving a Ferrari on ice!
There are multiple ways to lock your exposure and focus so I will leave it to you to find the way that fits your shooting style. With my camera on the fastest frame rate it doesn’t have time to change exposure or focus. So once I make sure the plane I want is in focus, I hold the button and pan left or right, up or down, depending on how I want to compose. I end up with a lot of photos but that gives me flexibility to choose which images go best together.
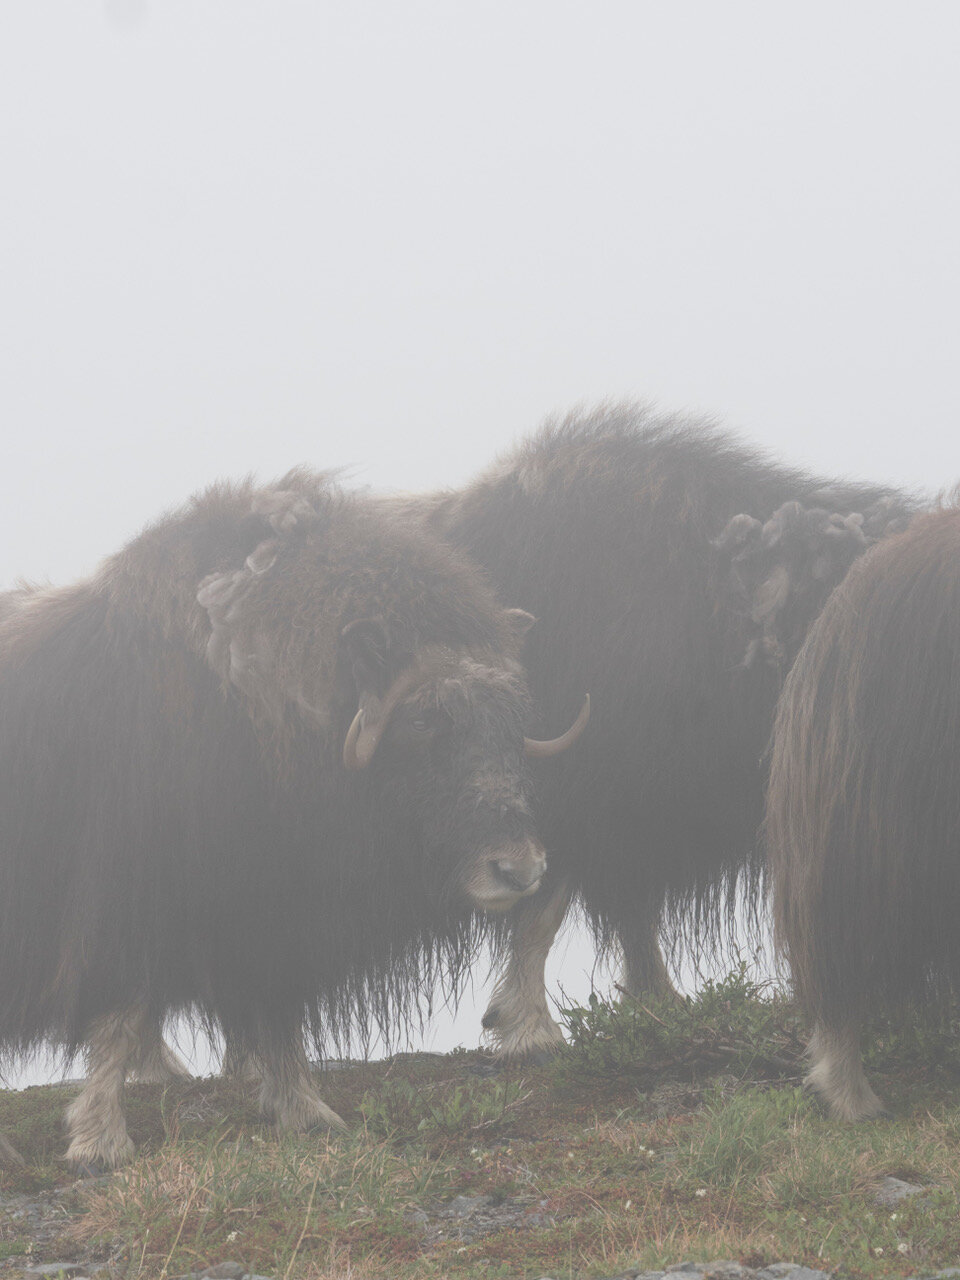
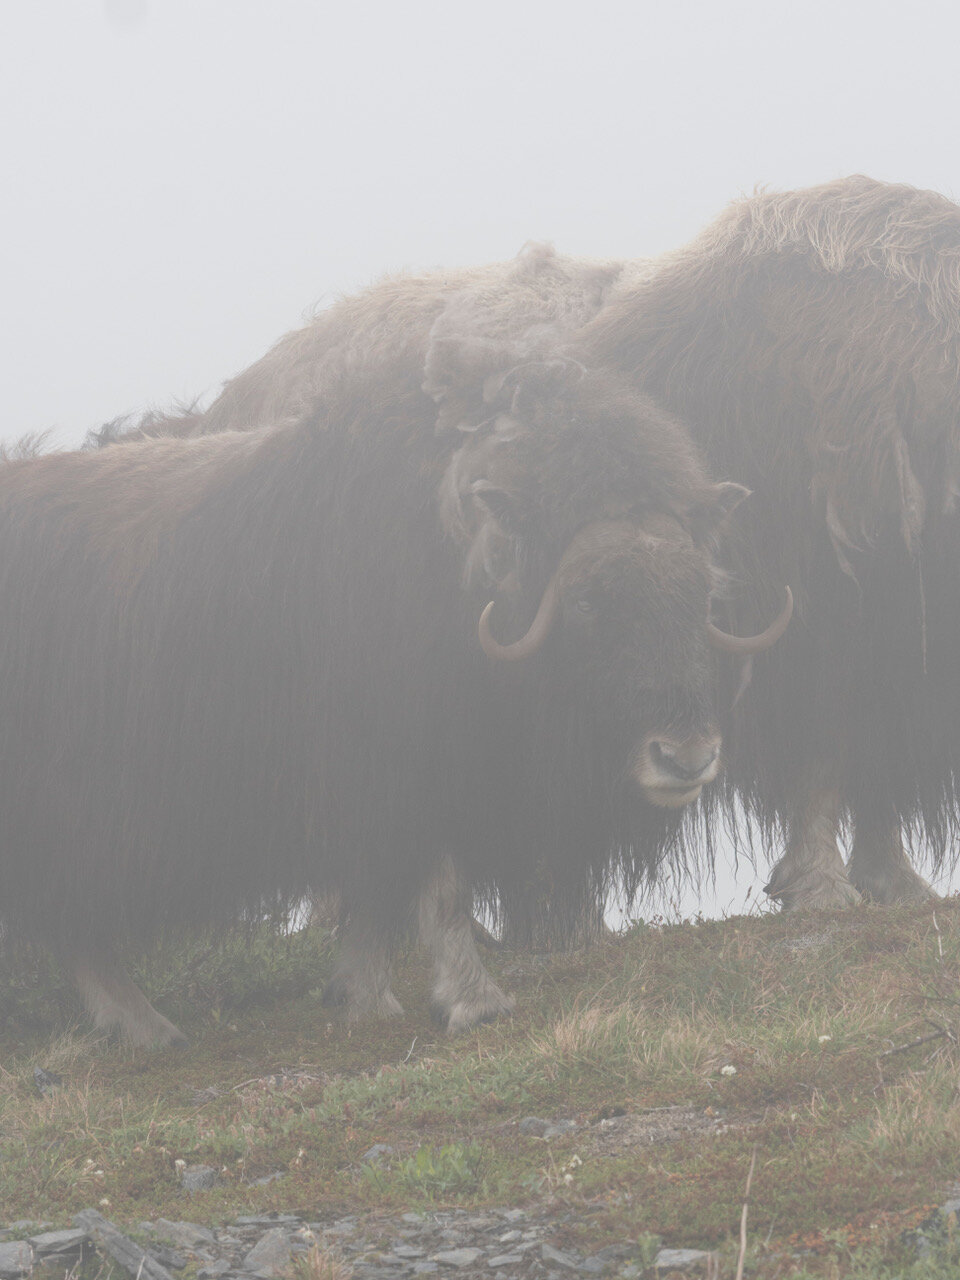
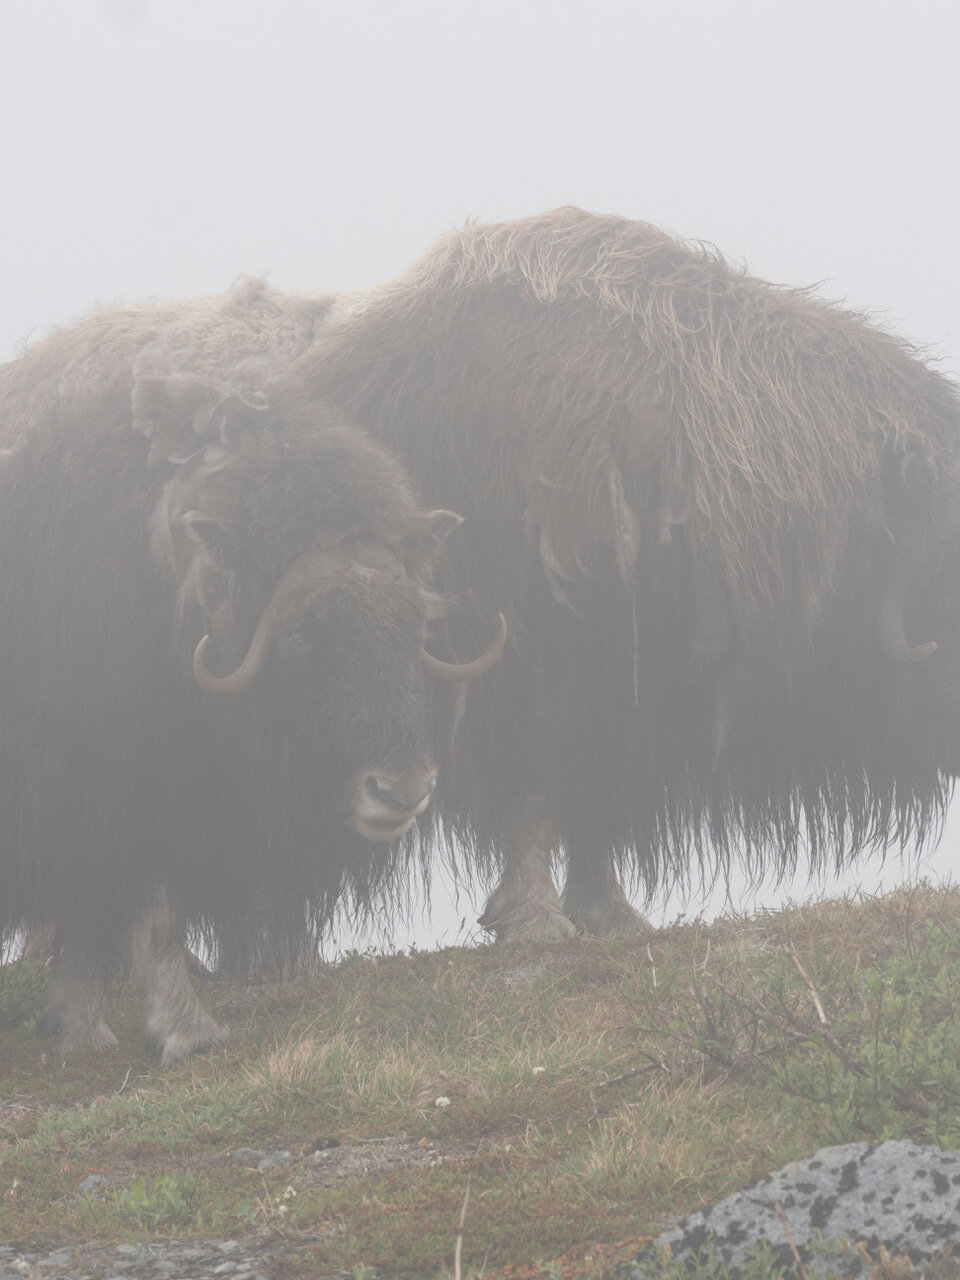
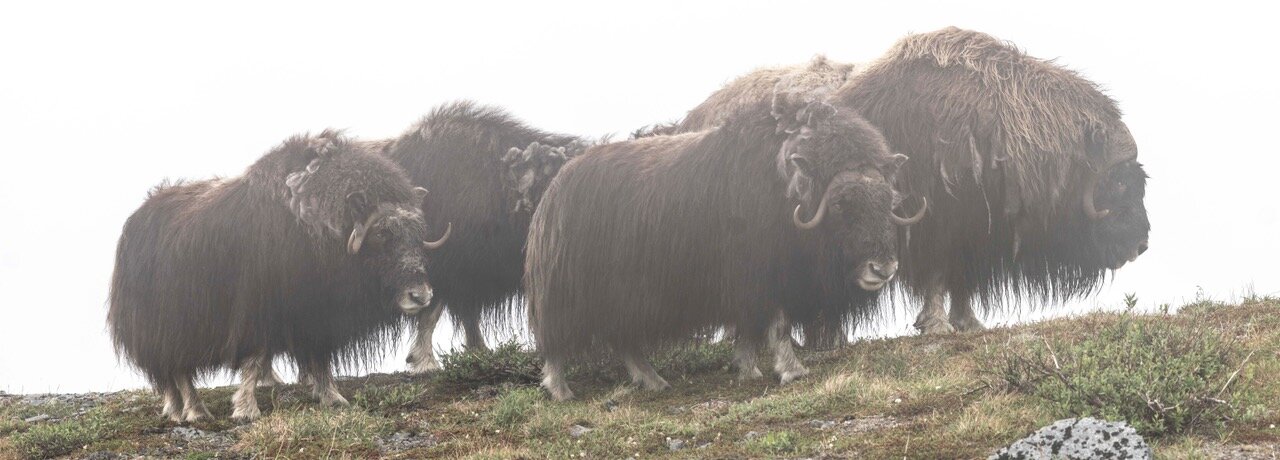
In this scenario it took three images to capture the entire scene. The dark to the right is an elbow that was removed from the final product with a digital graduated filter.
As in golf it is important not to neglect your follow through. Turn with your hips to keep it from falling off at the end. Try to keep the camera as level as possible and continue to shoot with the focus locked. This will provide you with some fun blurry shots to incorporate into your bokeh. Perhaps my next blog post will be about all the ways I take blurry photos.
In post processing there several programs that will stitch images together. I happen to use Lightroom but if there is a stitch that is not quite working I take it into Photoshop and it usually works. Generally, there is a pattern that will emerge as you figure out what speed of panning works for you. For me, it is usually every third or fourth shot that I pick to go into the finished product.
After doing this multiple times on a subject it can be difficult to know where one starts and the other begins in your library so in between stitches it is good to take a picture of something random like a foot or tree that will break up what can be a long string of images. And remember these don’t really look like anything good until you put them together.
I do get some grief from my guide buddies for all the preaching I do about photo stitching, but it has allowed me to lighten by bag by not needing to take a mid range zoom lens.
Hopefully this inspires you to try something new or even gets you out of a pinch when you just have too much lens. If nothing else it is a fun photographic challenge to spice up a day of shooting!
Backing up would have required falling of a mountain so a stitch saved the day.
Bear cubs running across the tundra didn’t fit in a single image so a three shot series captured the moment.
